
DIY Newborn Photography: Essential Tips for Parents


Preparing for the Shoot
Welcoming a newborn into your family is a momentous occasion, and capturing these first moments through photography can be a cherished memory. While professional photographers offer expertise, creating your own DIY newborn photos can be equally rewarding and personal. Start by deciding on a comfortable and well-lit location in your home. Natural light is your best friend, so choose a spot near a large window for soft, diffused lighting.
Ensure the room is warm enough to keep your baby comfortable, as newborns are sensitive to temperature changes. Gather the essentials such as a soft blanket, a few props like a cute hat or stuffed animal, and a camera or smartphone with a good resolution. Remember, safety comes first, so have a partner or helper on hand to assist you during the shoot.
Choosing the Right Time
Timing is crucial when it comes to newborn photography. The best time to photograph your baby is within the first two weeks of birth. During this period, babies are generally more sleepy and easier to pose. Plan your photoshoot around your baby's naptime or feeding schedule to ensure they are relaxed and content. A well-fed and rested baby will result in more cooperative and serene poses.
Be patient and flexible with your timing. If the baby is not in the mood, take a break, and try again later. Newborns have their own schedules, and working around them will yield the best results.
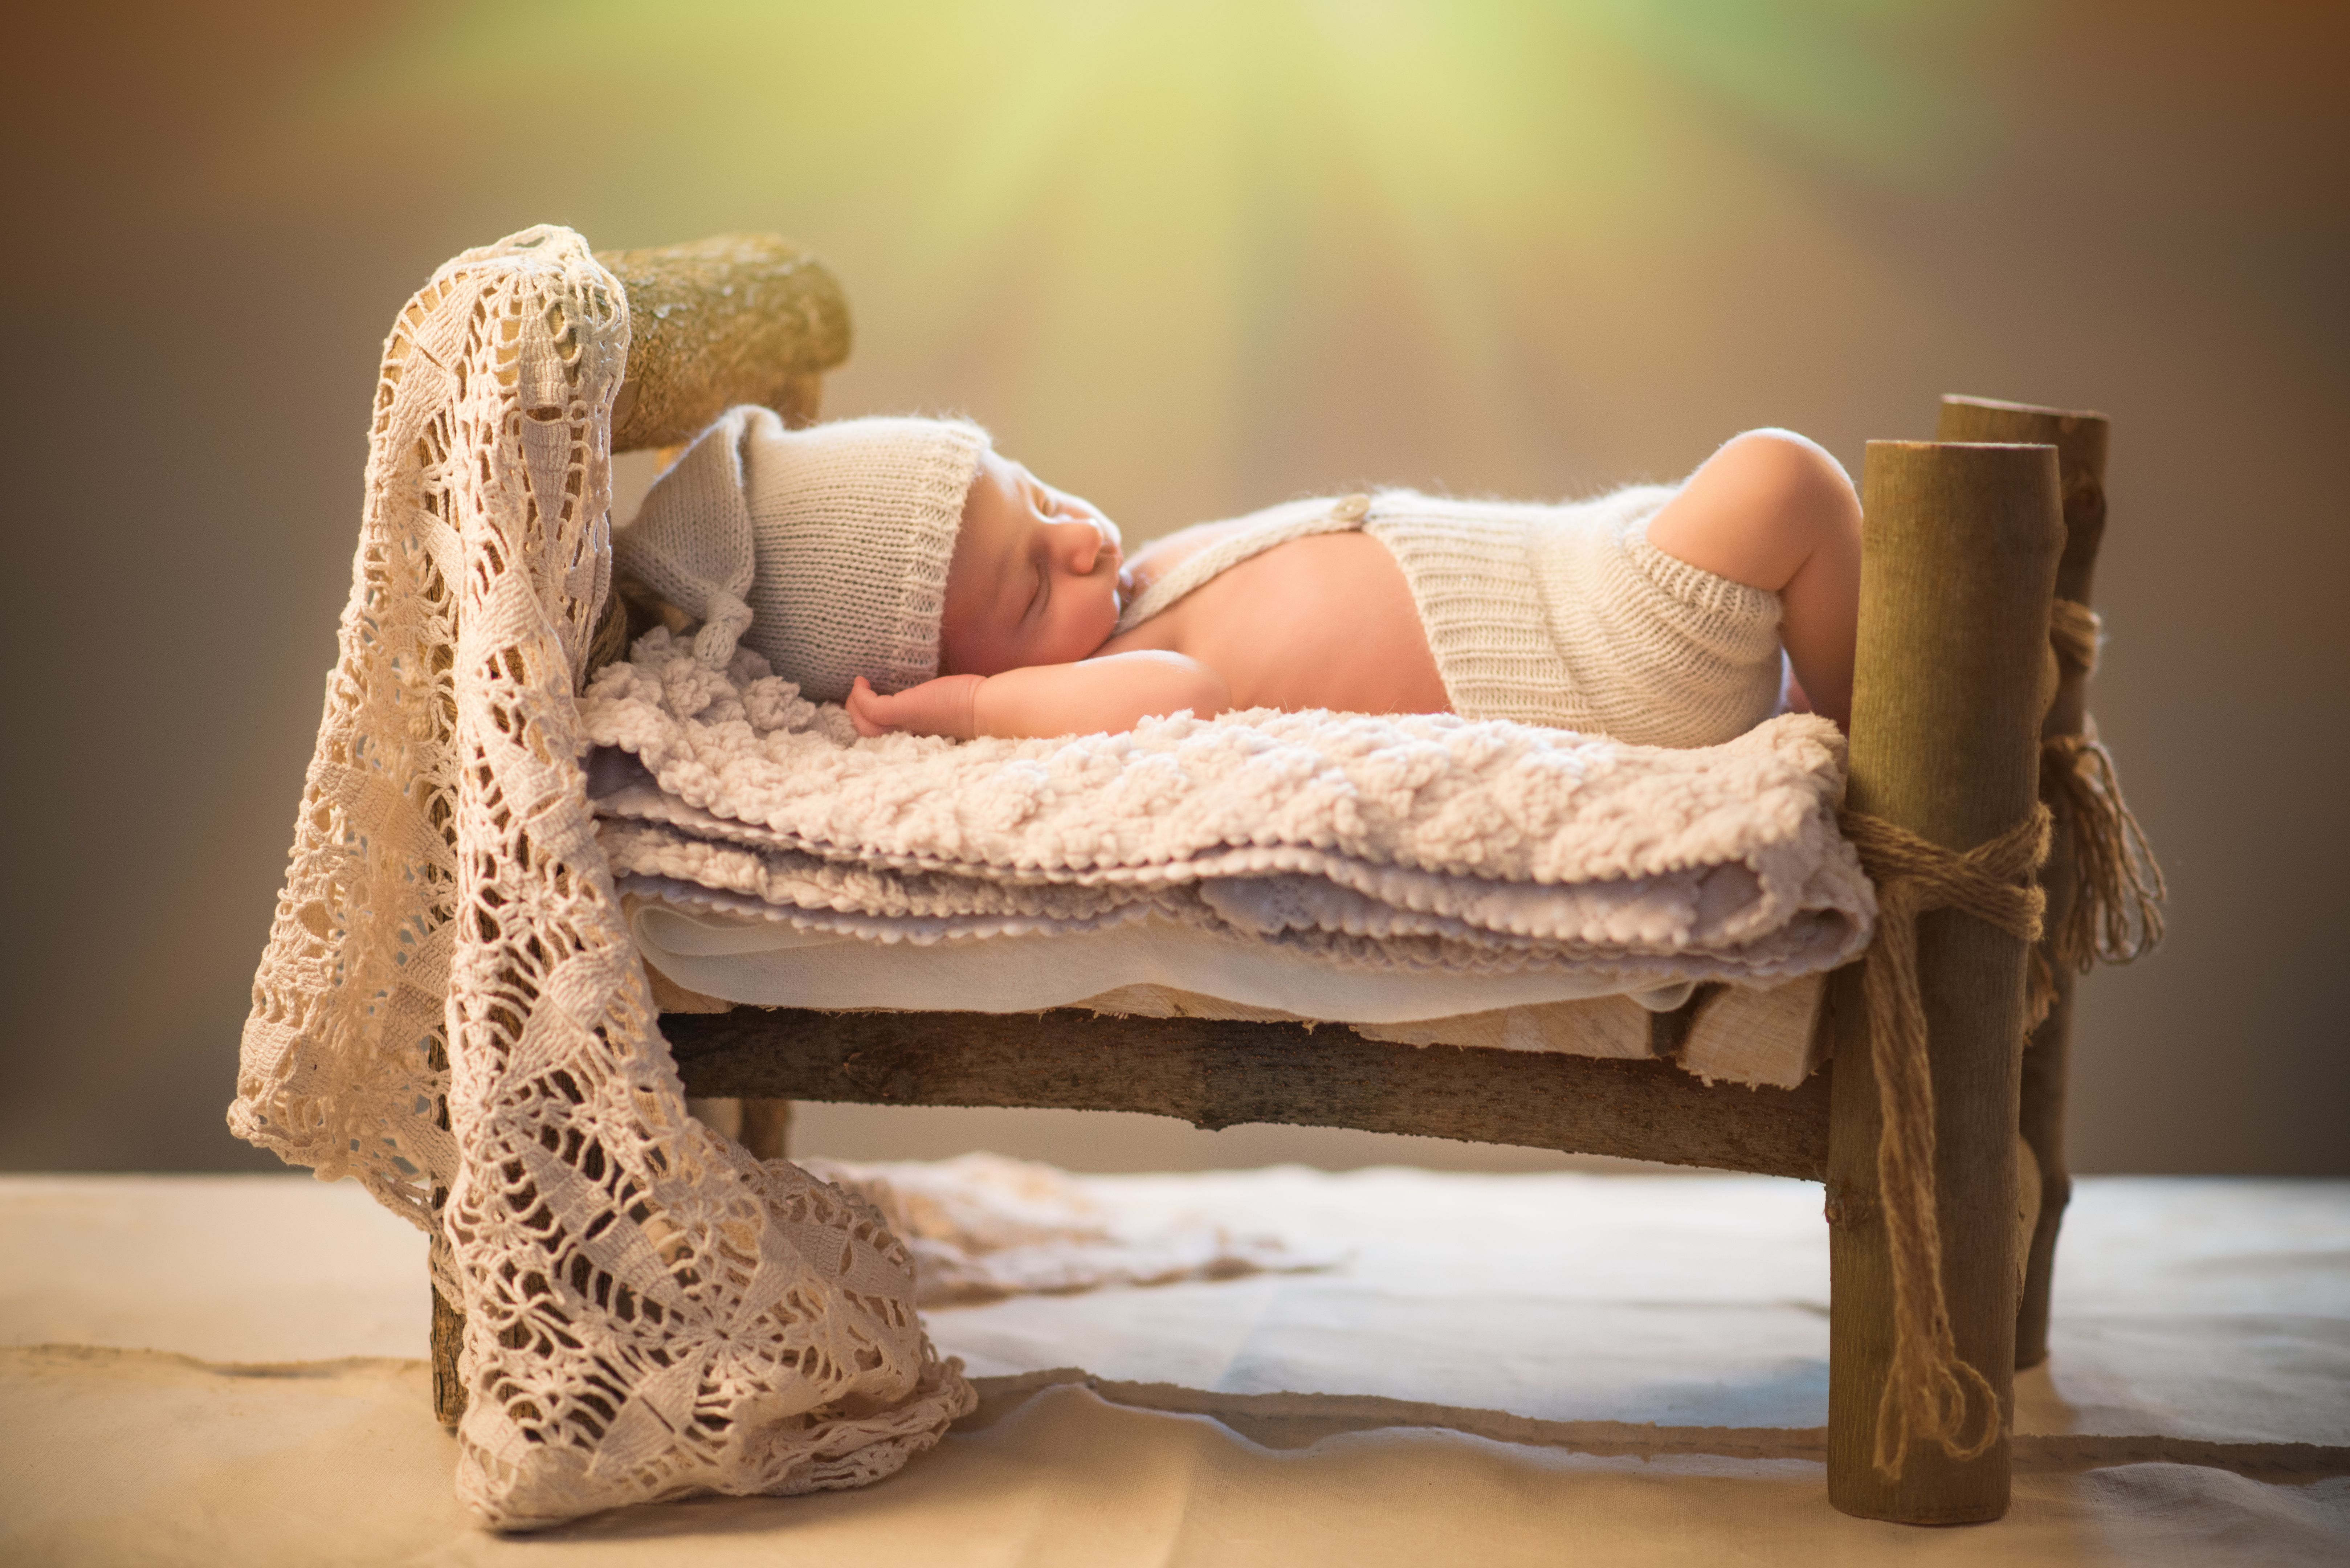
Creating a Safe and Cozy Environment
Your baby's safety is paramount during the shoot. Avoid using props or poses that could be uncomfortable or unsafe. Always have someone nearby to ensure the baby is secure, especially if you're attempting any elevated shots. Keep all equipment like cameras and tripods stable and out of reach.
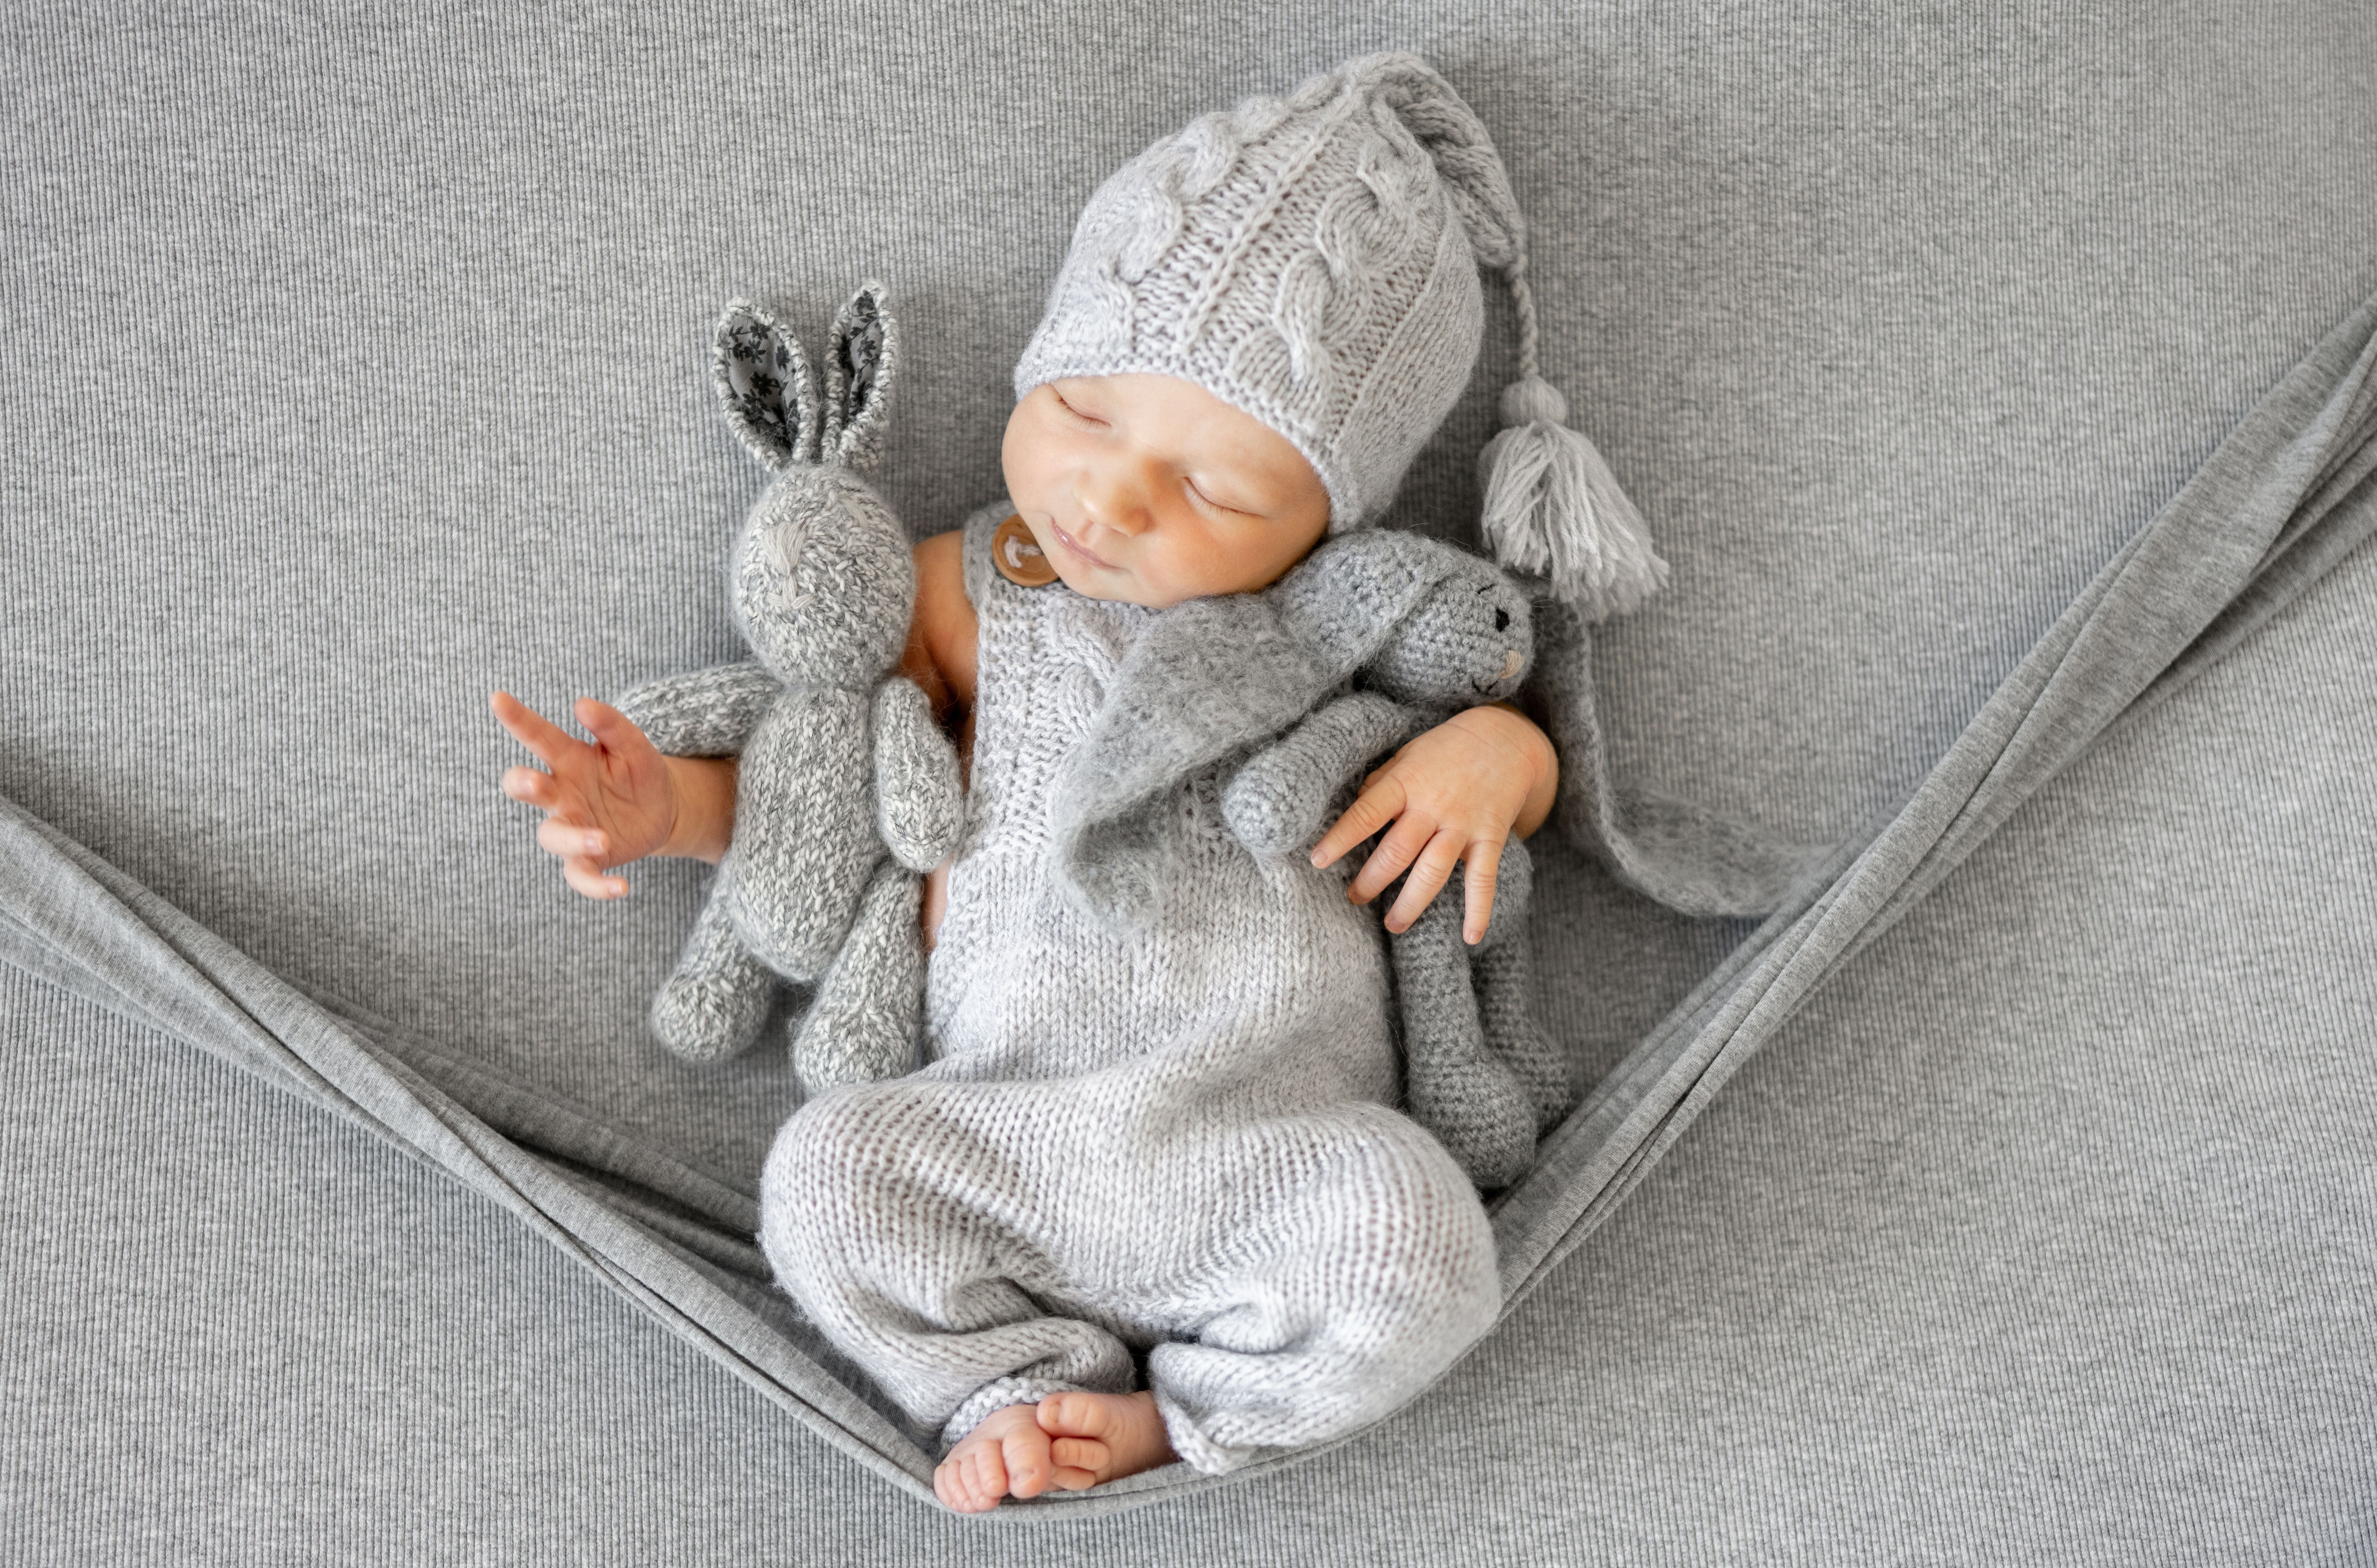
To create a cozy setting, use soft, neutral-colored blankets and props that won't distract from your baby's natural beauty. Simplicity is key in newborn photography, allowing the focus to remain on the infant's delicate features.
Mastering Camera Angles and Techniques
Experiment with different camera angles to find the most flattering shots of your newborn. Capture a mix of close-ups and full-body images to showcase their tiny features such as fingers, toes, and eyelashes. Kneel or lie down to shoot at the baby's eye level for an intimate perspective.
Utilize natural light as much as possible, but if additional light is needed, opt for soft lighting options. Avoid using harsh flash, which can startle the baby and create unflattering shadows.
Editing and Sharing Your Photos
Once you've captured your images, it's time to edit them to enhance their quality. Use basic editing software or apps to adjust brightness, contrast, and color balance if necessary. Keep edits minimal to maintain the natural essence of your photos.
Consider creating a digital album or photo book to share with family and friends. This not only serves as a keepsake but also as a beautiful way to document your baby's early days.
Final Thoughts on DIY Newborn Photography
DIY newborn photography can be an enjoyable and rewarding experience, allowing you to capture precious moments in an authentic and personal way. With preparation, patience, and creativity, you can create stunning images that you'll treasure forever.
Remember to enjoy the process and cherish these fleeting moments with your newborn. The effort you put into capturing these memories will be worth it when you look back on these special days.